Apptegy / ThrillShare Initial Setup & News Feed Posting
Setting up your profile
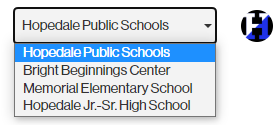
The first thing to do when logging in is setting up your profile. If you have access to multiple schools (district staff), you will want to repeat this for each school in your dropdown (top right).
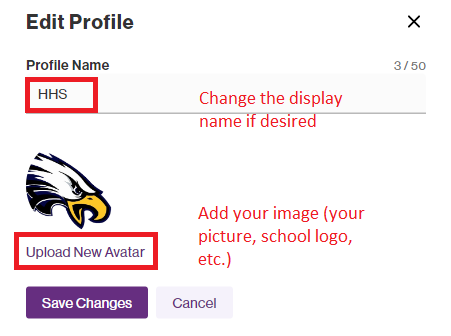
This profile (name and avatar image) is displayed when posting a news and live feed post. You can use your name and your picture, your school’s logo, or make a generic profile with your school’s name/acronym.
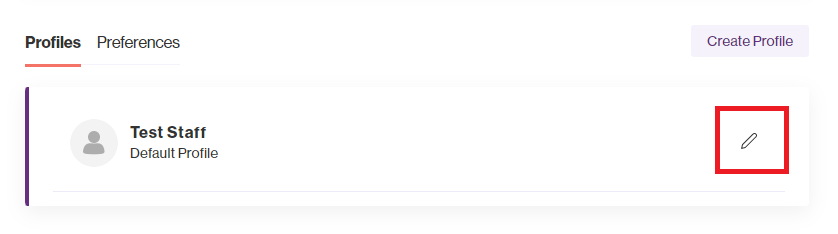
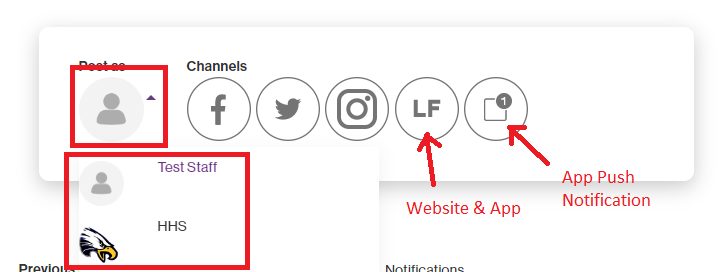
1. Click on your name in the top right:

2. Under Profiles you’ll see your name. Click the edit pencil to change your display name (if desired) and add a profile avatar. If you want to have multiple profiles (one of yourself and one generic one) click Create Profile and follow the same instructions below.
3. Edit the profile as you see fit and click Save Changes.
Differences between “Live Feed” and “News”
Live Feed
The Live Feed is a great place to share all the small stories or quick notices. They will be published to the ‘live feed’ section on the website, social media, and app.
Live Feed offers posting a short message and image. How many characters is limited based on where you’re posting it to (for example, enabling Twitter will limit it to 160 characters).
Live Feed posts cannot be edited after submitted!
Submitting a Live Feed Post
You can post a Live Feed notice to:
- Website & App
Instagram– we are not using this currently.- App (PUSH NOTIFICATION)
- Voice (only for those with permissions for voice)
- SMS Text Message (only for those with permissions for voice)
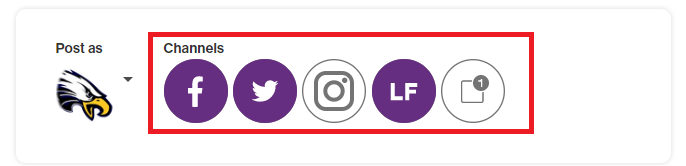
1. Click the “Post As” to select the appropriate profile to submit from if you have multiple profiles.
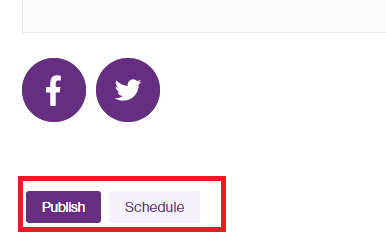
2. Click the “Channel” you want the post to go to (Facebook, Twitter, “LF” (Website & App), App Push Notification). Most posts will be Facebook, Twitter and “LF”.
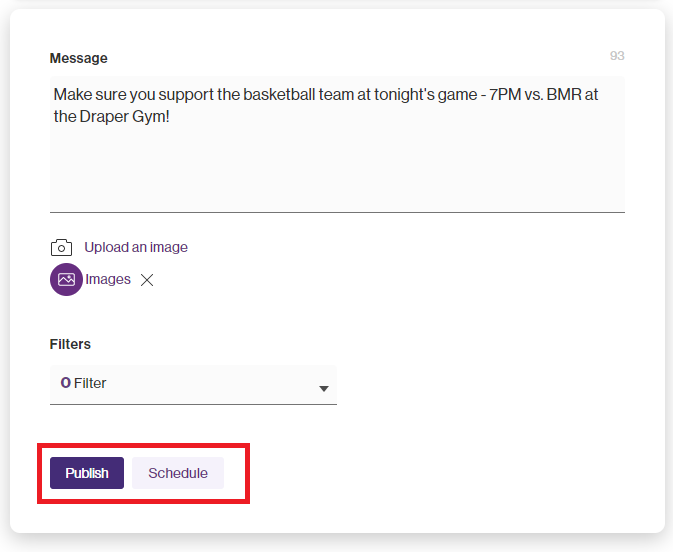
3. Enter your message (usually a max of 200 characters since Twitter has a character limit).
4. Upload an image, if desired.
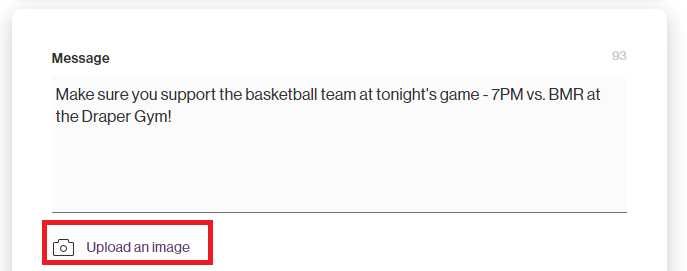
Drag and drop or click Browse to find the image.
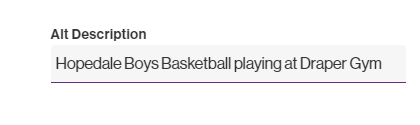
Enter the image description (this is for ADA/ visually impaired users to know what the image is of)
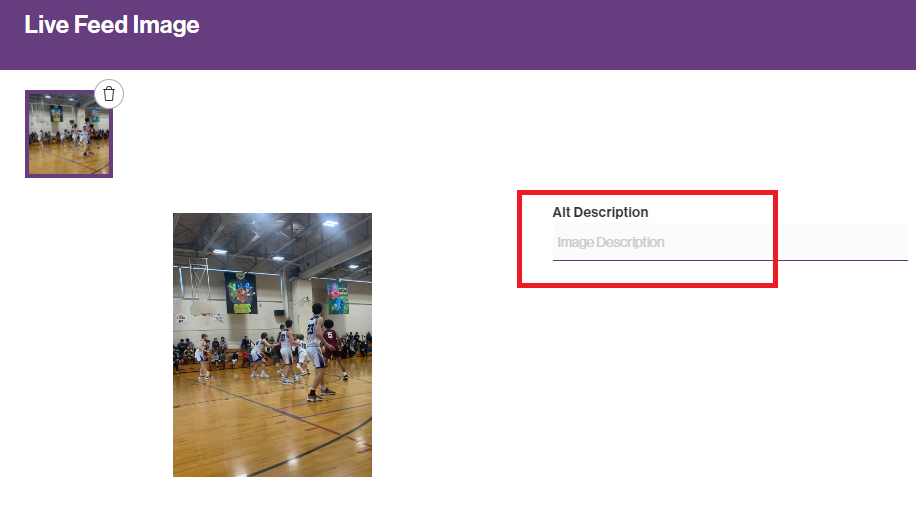
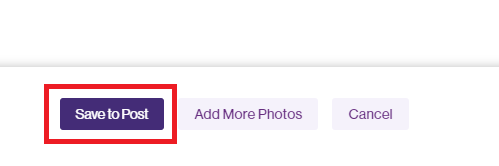
Click Save to Post if finished, or add more photos if you have additional photos to include:
5. When ready to submit your post click Publish to set it immediately OR click Schedule to post it at a future date/time.
News
The News section is a great place to share information about the big events or important notices that should be published and accessible on the website for a extended period of time.
News posts are set up similar to an email where you can add a lot of content and styling.
News posts can be EDITED after submitted, Live Feed posts CANNOT.
Submitting a News Post
You can post a News post to:
- The Website & App
1. Click Add New

2. Upload an image, if desired.
Drag and drop or click Browse to find the image.
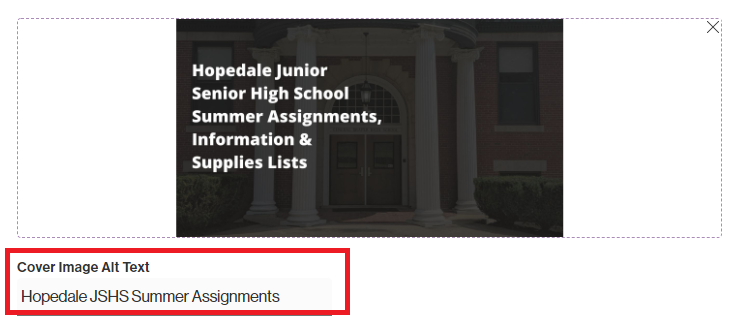
Enter the image description (this is for ADA/ visually impaired users to know what the image is of)
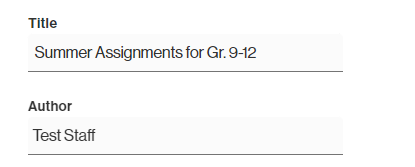
3. Enter the news post’s Title
4. Change the author if desired
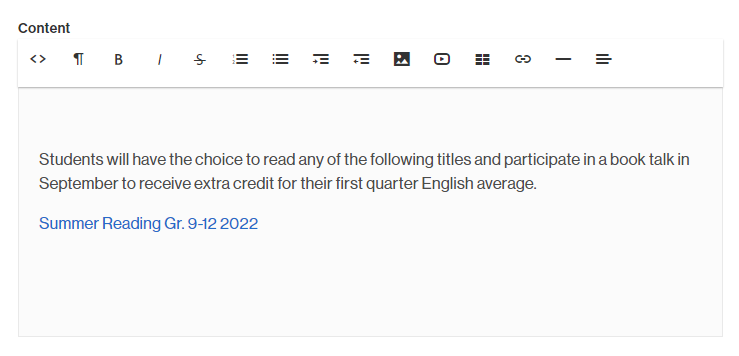
5. Enter your post content (you can copy and paste from a Google Doc, email, etc. or just start writing right in the editor). You can add lists, headings, text, images, videos, links, tables, etc. using the toolbar.
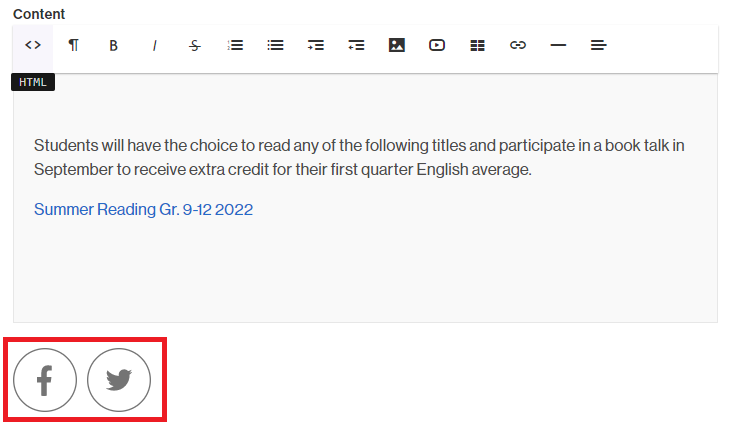
6. By default the post will be submitted to the website & app. To also submit it to Twitter & Facebook, click the buttons to enable it:
7. When ready to submit your post click Publish to set it immediately OR click Schedule to post it at a future date/time.